Slow Stitch Notebook Cover
Introduction
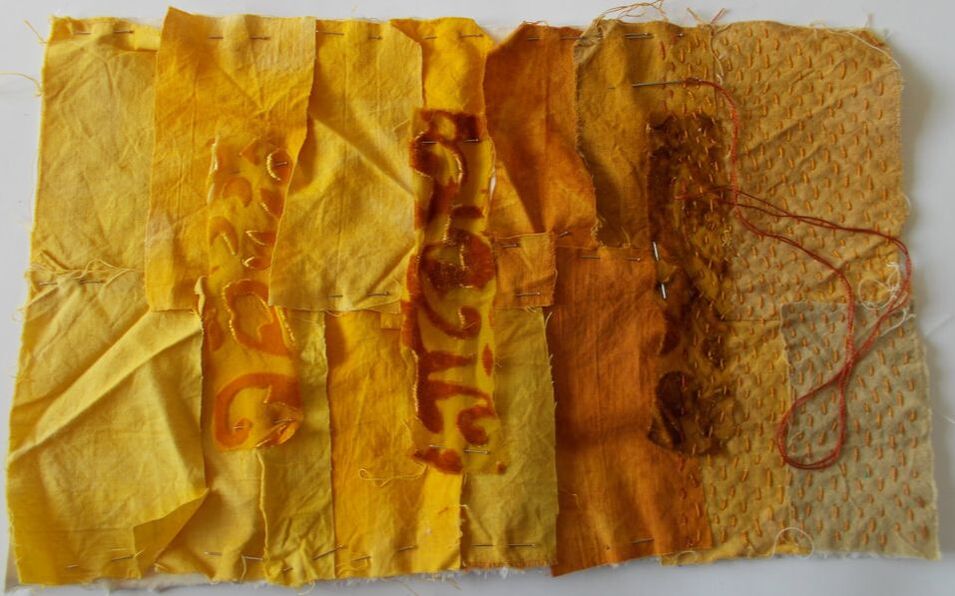
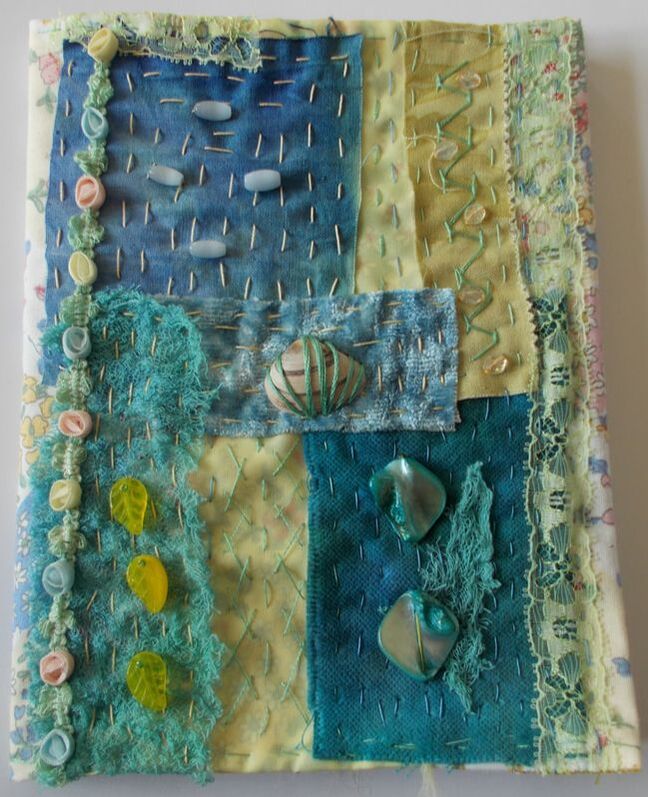
The slow-stitch movement combines relaxation with creative movements. The main element of slow stitch is just that, carefully, repetitively putting stitches into fabric. This session will introduce simple collage techniques using scraps of fabric and simple stitches such as running stitch and seed stitch to create a notebook cover.
Materials Needed
Very few materials are needed to get started:
- Inspiration – photographs, pictures from magazines, object such as plants, flowers, etc.
- A piece of fabric 5cm wider and 1cm higher than your notebook.
- Scraps of fabric, cut up old clothes, cotton works best but you can add chiffon, velvet and other textured fabric.
- Different thicknesses of thread (perlé cotton, stranded cotton)
- Scraps of lace, ribbon, buttons, beads etc.
- You will find lots of items in your cupboards and on www.amazon.co.uk or www.etsy.com.
- Measure your notebook and cut your fabric so it measures 2cm higher than the notebook and 5cm wider than your notebook when opened out, i.e. the notebooks are 16.5cm high by 10cm wide so the fabric should be 18.5cm high by 25cm wide (10cm x 2 when opened out is 20cm + 5cm for flaps.
- If you have a photograph, image or object for inspiration, select fabric scraps, lace and embellishments such as buttons and beads to match your colour scheme. If you don't have anything in mind, you can be as daring as you wish with your fabric selections.
- Lay your fabric scraps onto your backing and pin them in place. Rearrange these as much as you wish. If you want to have a different front and back cover, remember to create this on the right-hand side remembering to leave 2.5cm for the flap.
- If your pieces overlap, take a photograph so you know where each piece belongs.
- Start by stitching down the first piece using running stitch (below right) close to the edge.
- You can add extra stitches, to decorate the piece
- Now add the next piece and stitch down.
- Continue to add the pieces of fabric and lace until all pieces are stitched down. Add some additional stitches such as seed stitch or star stitch.
- Finally add beads, sequins or any other embellishment you have.
|
To make your notebook cover
https://www.youtube.com/watch?v=2Q69GHcAbFM https://www.youtube.com/watch?v=O3tj6KyT3fQ&list=PLVOf3czm62FK0Jnpb5VkxM5ZxO4f5f7FH https://raystitch.co.uk/news/slow-stitching-and-mindfulness/ https://craftsselection.com/basic-embroidery-stitches/ |
|
